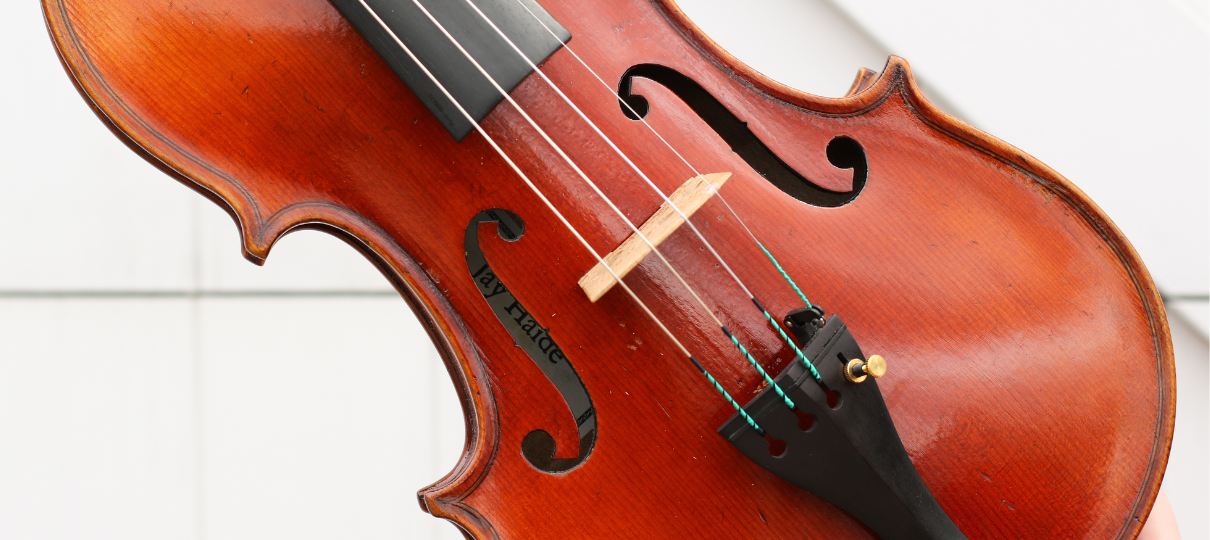
A quick and easy guide showing how to change your strings for violin, viola or cello.
As a string player or string parent, it’s important to become familiar with how your instrument works. One of the basic tasks that any string player undertakes at some point in time is to restring their instrument. Here is our step by step guide to changing strings on a string instrument.
Please remember, if you are at all concerned about changing your strings, we offer free restringing with any strings that are purchased from our store.
Step 1:
Always replace the strings one at a time. It’s important to keep the tension in the strings to keep the bridge and soundpost upright. If all the strings are removed at once, there will be no pressure to hold the bridge in place. To remove the old string, hold the instrument with the strings facing you and turn the corresponding peg towards you to loosen the string and remove it from the pegbox. Remove the small metal ball or loop from the corresponding fine tuner. Once the string has been removed, you will have great access to give the fingerboard a good clean.
Step 2:
Remove the correct string from the packet (all packets will have the string name printed on it). This is very important as over tightening the wrong string can cause it to snap. All strings are colour coded at the pegbox end to distinguish them from other strings. The tailpiece colour of the string (the end with the loop or ball) is coloured depending on the brand of the string.
Shop our extensive range of strings with fast and free* shipping Australia wide.
Step 3 (optional):
Using a soft graphite pencil, ‘colour’ in the corresponding groove on the bridge and at the top of the fingerboard (near the pegbox). This will ensure the peg slides smoothly through these contact points and does not catch on any part of the instrument.
Step 4:
Insert the plain end of the string into the corresponding peg hole. Ensure there is some part of the string sticking through the other side of the hole. However, there should not be too much excess as this will scratch the pegbox when twisted.
Step 5:
Place the ball or loop end in the corresponding slot in the fine tuner or tailpiece. This has a tendency to move when tightened so keep an eye and a hand on it. You may wish to put a soft cloth under the tailpiece while changing strings to ensure nothing scratched the surface of the instrument.
Step 6:
Tighten the string by winding the peg away from you. Keep the other hand pulling the string away from the peg to maintain tension on the string. This will keep the string ‘straight’ on the peg. Cross the string over itself once at the start of the tightening process and then wind the remainder of the string towards the peg ‘head’ ensuring that it remains neat on the peg. This will ensure that your pegs do not continue to slip and that they are easily tuned.
Step 7:
Once all the slack has been taken out of the string, you can refine the tuning with the use of a tuner. Remember, it will take a new string some time to ‘settle’. If you need to put a new string on before a concert or exam, it is best to replace it at least a week before the performance. When tuning, it is important to always lower the pitch using the peg before trying to raise it. This will ensure that your string does not get over tightened. Remember, the fine tuners work in exactly the same way as volume dials on stereos (a thing of the past, I know!). If you turn it clockwise, the pitch (or volume) is raised. If you turn it anti-clockwise, the pitch (or volume) is lowered. ‘Lefty-Loosey, Righty-Tighty’ is a great rhyme to help you remember.
Here's a quick video from one of our team members, Ben, showing you how to fit a new E string to a violin.
Have any questions? Get in touch with our friendly team today.


